Linux
Linux needs no introduction. It is the most popular Unix based Operating System out there. Following are descriptions about installing Xfce on some of the major Linux Distributions.
Ubuntu
To test out Xfce in Ubuntu you can use Xubuntu.
Alternatively, you can download Ubuntu from Ubuntu.com and type the following command into terminal
sudo apt-get install xubuntu-desktop
If you want to use stock Xfce (which is highly recommended), you can use the following description.
Installing Xfce on Ubuntu 16.04 LTS involves three main steps :
- Opening up terminal
- Click on the dash icon
Click on the dash icon
- Now search for the terminal software. Click on the terminal icon to open the terminal application.
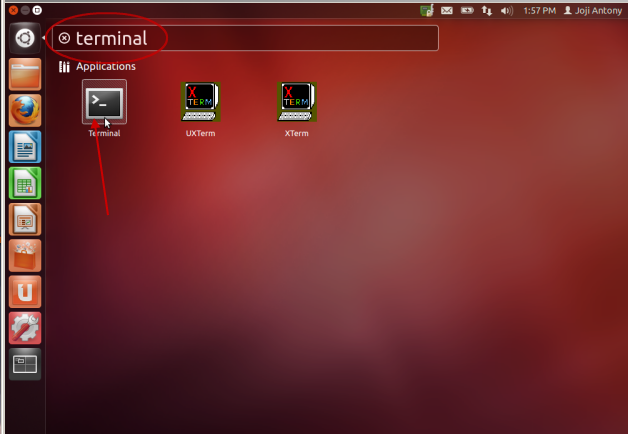
Search and find the terminal application
- Entering the command to install Xfce
Once the terminal application opens up you need to enter the following command to install Xfce:
sudo apt-get install xfce4 xfce4-goodies
You may be prompted to enter your pasword and authenticate your install.
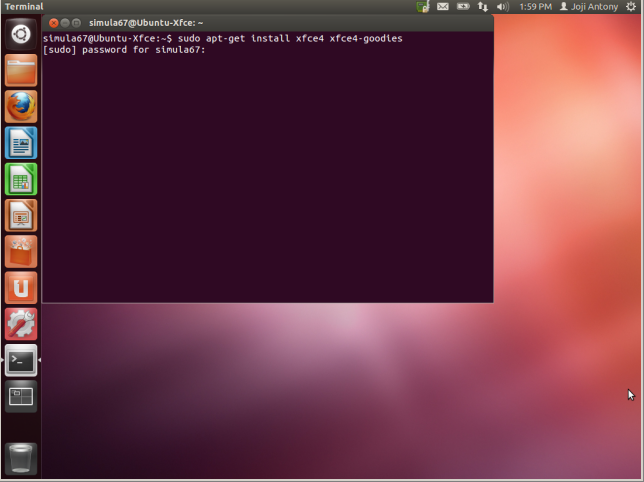
Enter the command to install Xfce
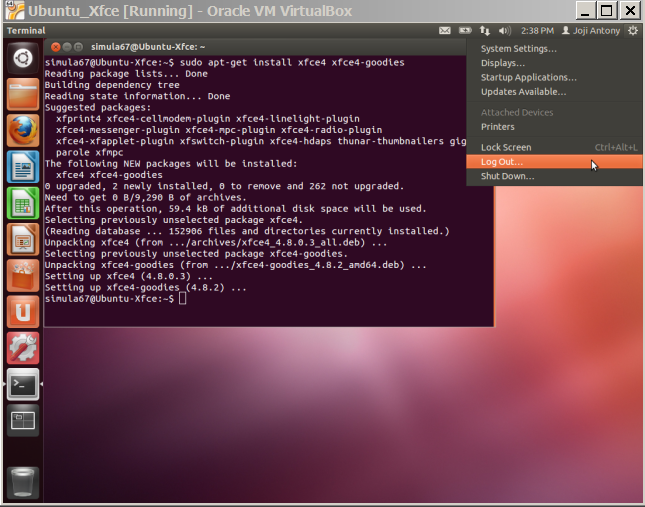
You will need to be connected to the Internet to begin the installation. Once you authenticate, Ubuntu will begin downloading and installing Xfce on your computer.

Downloading and installing Xfce
On Ubuntu 12.04 LTS, you may be prompted to answer a question about hddtemp during installation. Please do not worry about this and press ENTER to select the default “No” option.
- Logging out, selecting and logging into Xfce
- Now, if you want to use your brand new Xfce installation, please log out.
Logout
- Click on the Ubuntu icon.
Click on Ubuntu Icon
- Click on Xfce Session
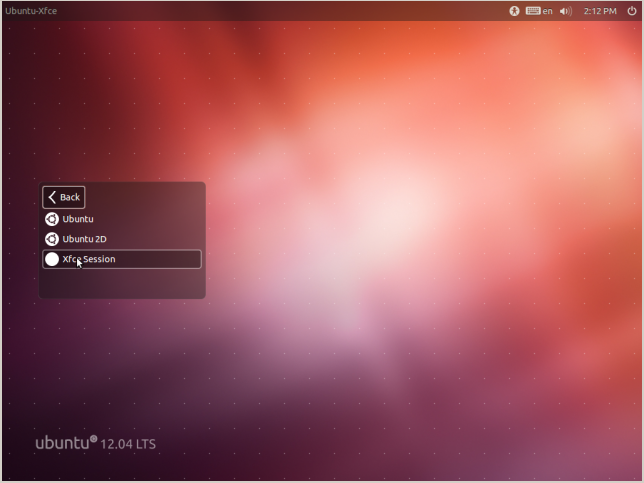
Click on Xfce Session Icon
- Enter your password and log into Xfce
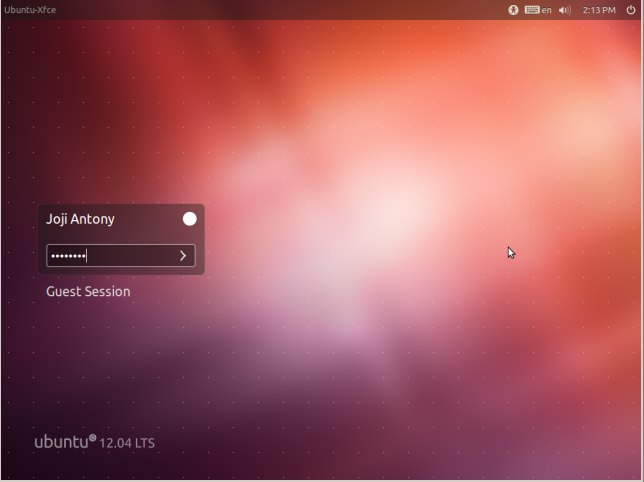
Log into Xfce
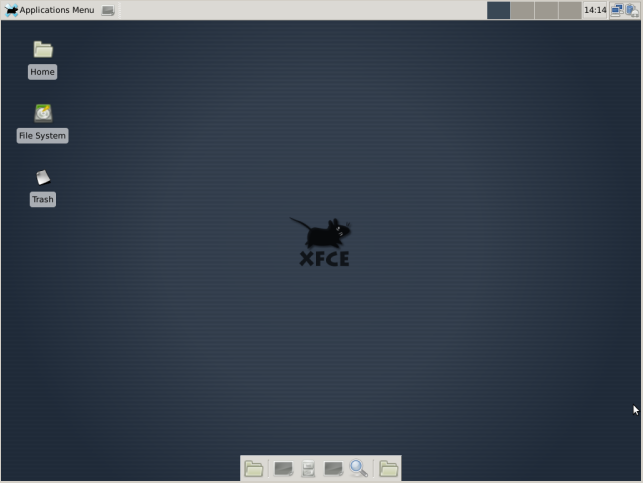
- When logging in, select “Use Default Configuration” to get the standard Xfce desktop.
Xfce Desktop.
Voila! You have entered the default Xfce desktop.
